Let’s get our vocabulary consistent! When I mention a part of a camera, you should be able to know which part we are talking about. This will be helpful everywhere, not just while reading this guide.
Learning the parts isn’t just going over this easy stuff (boring!), but making sure we are all on the same page about what we are calling everything.
The Camera Body
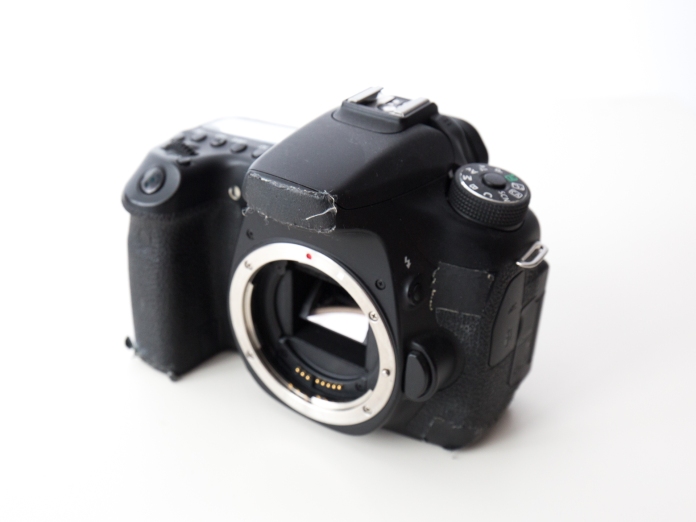 Canon 70D. I keep gaff tape over the logo’s of my more expensive cameras and around the edges to make them look less valuable.
The camera body is… you know… the camera. It’s the part you hold. It’s got buttons and you usually look through it.
Most camera bodies contains:
- The Image Sensor (the thing that captures the image)
- The Lens
- The Shutter
- The Shutter button
- a 1/4″ screw hole (for attaching to things like tripods)
- Most Controls
- Batteries
- Image Storage (SD cards)
- The viewfinder: The part you look at to preview the image
DSLR’s contain
- A mirror that flips up and down inside the camera.
- An optical viewfinder. No screen to look at, and you can still look through the camera when it’s off.
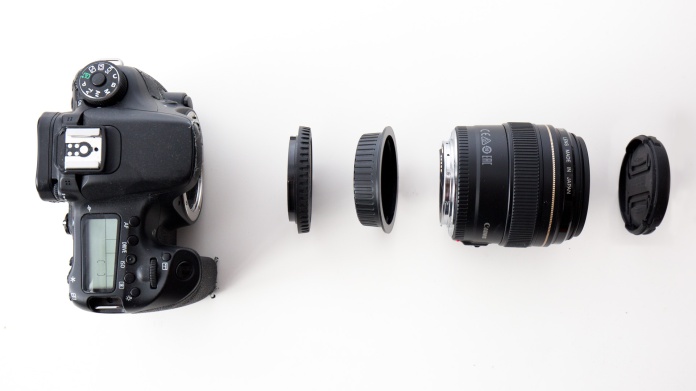
The lens locks into place. There’s a button on the front of DSLR’s that unlocks the lens, allow it to twist then come free. This is called a “bayonet” mount. Other mounts, like a screw-on method, used to be widely used. Nowadays it’s bayonet or bust. (insert, turn, lock into place) These risk damaging parts of the camera less, and ensure electrical contacts (for auto focus, and other reasons) are properly aligned and in contact.
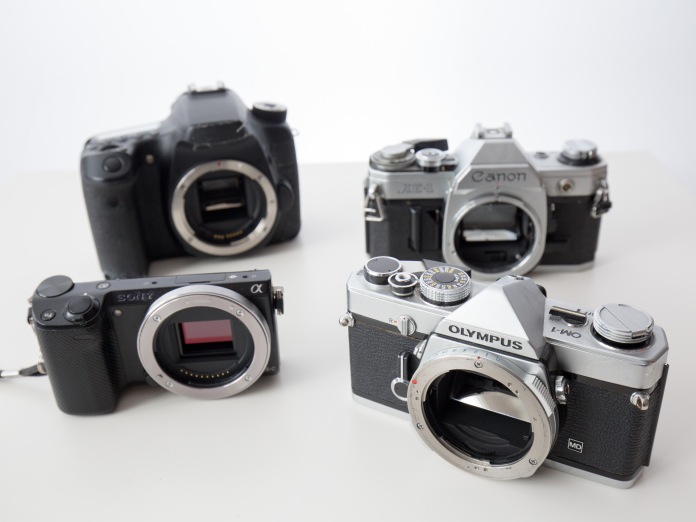
Clockwise from the top left: Canon 70D, Canon AE-1, Olympus OM-1, Sony NEX-5t. Note how the bottom left camera does not have a mirror inside of it, nor a little bump on top, and it has no viewfinder. This is a “mirrorless” camera.
DSLR stands for “Digital Single Lens Reflex” camera. “Single Lens Reflex” means the viewfinder – the part you look through, and what the image sensor looks through, is the same: the lens.
This way you see exactly what the camera see’s, so to speak. “Reflex” refers to the mirror bouncing light around up to the viewfinder. The two cameras on the right, above, are “SLR’s” not “DSLR’s”. They are not digital, they shoot on film!
I should get my camera cleaned
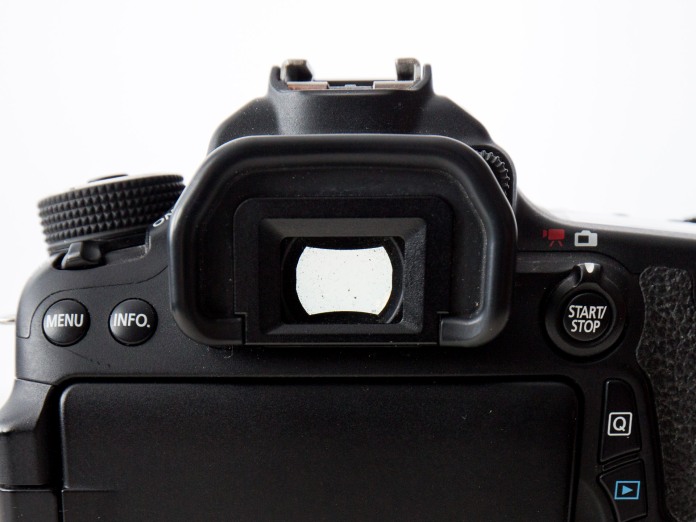
You look through this viewfinder, the light is reflected through some optics and mirrors, and out the lens. Nifty! The rubber bit around the viewfinder is to make the camera more comfortable when you press it against your face. Please don’t judge me for how dusty it is. It’s been through a lot. It’s now a backup camera and I play favorites when it comes to cleaning gear.
The Lens
You can look through it! Generally these things are to be handled with care.
Most lenses contain:
- Glass (sometimes plastic)
- Focus Adjustment
- Electrical Contacts
- Manual or Autofocus switch
- Sometimes aperture adjustment
- Lots of markings and data
- A screw mount for adding filters
- Sometimes support for a lends hood to snap on
- Optical Image Stabilization switch
The button on the front of the camera body unlocks the lens, allowing you to twist and carefully remove it.
Not all cameras have removable lenses. (Photographers use the term Interchangable. A camera that comes with multiple lenses that can be swapped may be called a “Camera System”. We will stick with saying cameras either have “interchangeable” lenses, or they don’t.
The Lens Cap
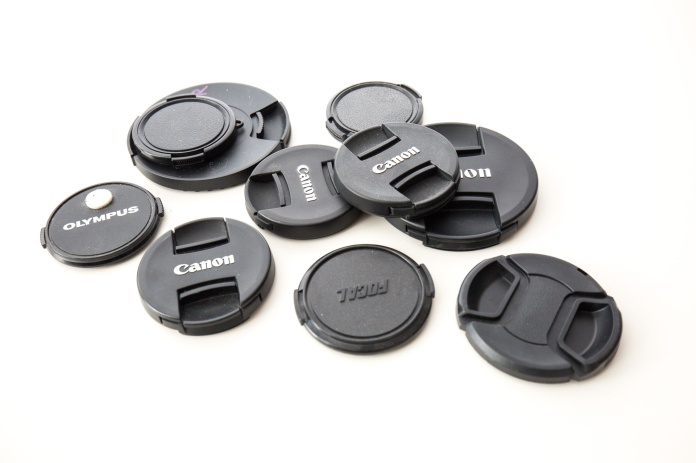
A random pile of lens caps I had lying around my apartment.
The most easily lost part of the camera, and honestly, the least big deal if it’s lost. Lens caps, I believe, should be kept in our camera bag while we are out shooting, and used when the camera is in storage, resting on a bright day, or otherwise at special risk of being bumped into things and scratched (not while in our hands).
The lens cap, and taking the lens cap off, should not get in the way of shooting! I take mine off when I start, and put it on when I’m done, and not once do I put it on while I am out and about.
Exception: I have a $3000 fisheye lens that the company I shoot for owns. The front glass element bulges out of the camera. I always put the lens cap on this insanely expensive and easily scratched lens.
It’s useful to keep lens caps in the same compartment of a camera bag that the lens is stored, if possible. You’ll see it when you put your lens back, and won’t forget to put the lens cap on. Different lenses in a camera bag can have different lens caps so keeping them organized where their respective lenses go, and not all together, saves a few moments of fumbling for the right cap.
There is one saving grace of the lens cap – super bright days, when the camera is outside. You know how the camera reflects light into your eye? (In other words… you can see through it?) If you point it at the sun, it’s reflecting that light into your eye, like an ant under a magnifying glass. Not great for eyes, or anything near the viewfinder. The lens cap blocks this light as much as it prevents dust, debris, and scratches. Many film camera’s I picked up at thrift stores have very small holes burned into the shutter! Wow!
The Camera Body Cap & The Lens Body Cap
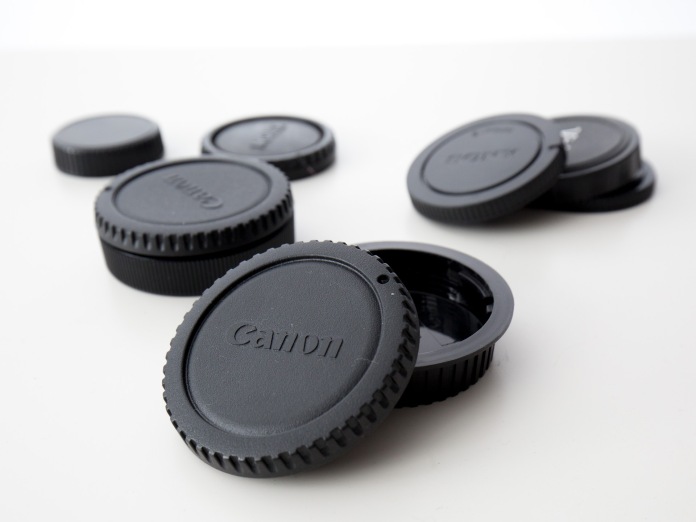
These are important caps! The camera body cap especially, you don’t want to lose. If you do, you’re stuck leaving a lens on your camera at all times to protect the image sensor. This may not sound like that big of a deal, but the convenience of storing a camera neatly or keeping it to the side while dealing with lenses is not to be underestimated.
Super cool thing, they snap into each other! Sometimes I keep an extra SD card inside of this little contraption, when I don’t want to carry as much with me. Mostly I keep them snapped together so I don’t lose them.
The Strap
Straps come in all shapes and sizes and types. Lets just remember to keep ours properly attached to the camera, and use them! Use them!
Don’t leave your strap hanging off of the edge of a table. An animal or small child or whatever may snag on them and drag your camera crashing to the floor.
When I put my camera on a table, I tend to bunch the strap below the camera and put it down. This way I won’t pick up the camera by the strap, but rather pick the camera up, then grab the strap. I do this because if I pick the camera up by the strap, the camera may ‘unwind’ from the strap and bump into the table, potentially damaging the lens, while I’m raising it up.
The Battery
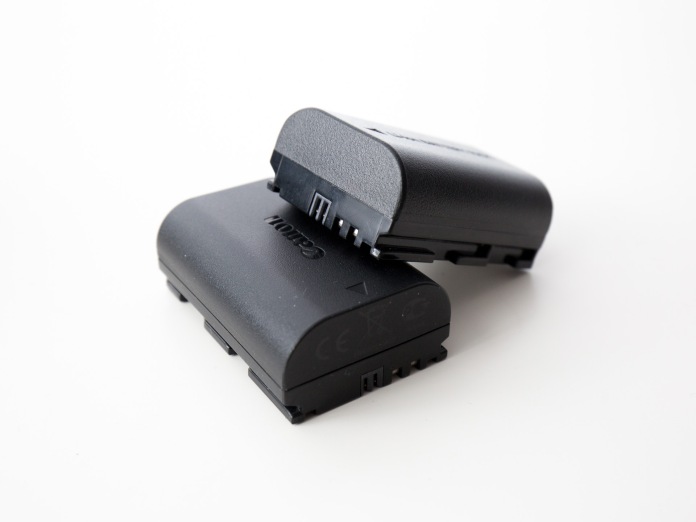
Batteries! Just one battery? Charge it after you shoot, not before. Now it’s charged and ready to go! Keeping your charger either in your bag or at your ‘base station’. If there’s room in your bag, then that’s preferred for being able to charge on the go. If there isn’t room, the charger might be the first to go.
My biggest piece of advice is to get an extra battery.
See the section on Battery Management for more.
Memory
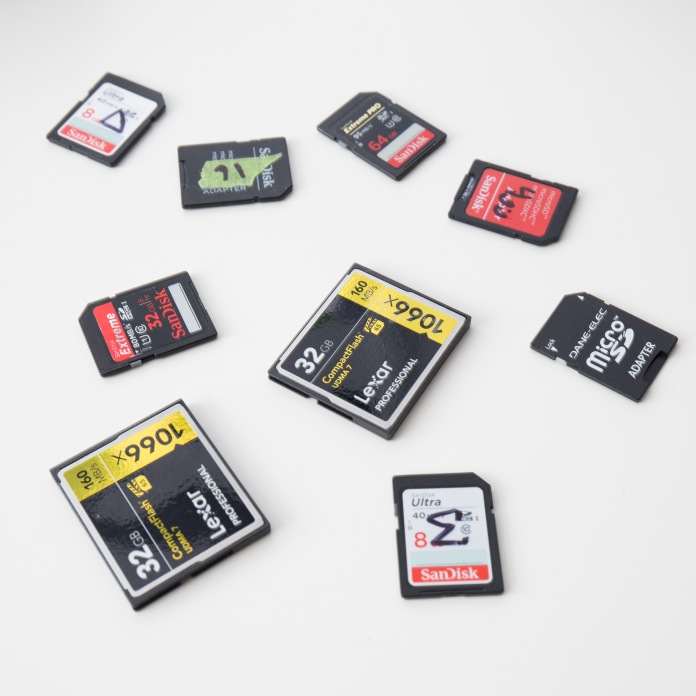
One of these is just a microSD Adapter.
Film, CF, SD, microSD, on-board, or whatever. Most cameras have removable memory cards that store all the images captured. Most cameras don’t have much memory outside of the SD card, so don’t lose yours! Camera’s tend to be mighty useless without them. Keep one in the camera when you store it.
When using an SD card, always format (a format deletes everything and gets the card’s file system ready to be used by the camera) it with the camera itself, not your computer or a different camera model/brand. Make sure to do this before using new SD cards, or SD cards that were used by other cameras. Start fresh! It will lessen the chance of data going corrupt on you.
I never format my cards until I have backed up all of my images in at least 3 other locations (computer, local backup hard drive, online). Because of that, I always carry lots of extra SD cards in case one fills up while on a trip.
To keep track of it all, I have a little SD card pouch. Logo up means it’s ready to be used, face-down, contacts-up means it’s full of data and that I shouldn’t touch it. I also label all my SD cards with names (I use various greek letters), so it’s easy to remember who is borrowing/using what, or refer to what images are where, when shooting with others or on long trips. I have a notes file on my phone with lines like “Cleveland day 1 – card DELTA”.
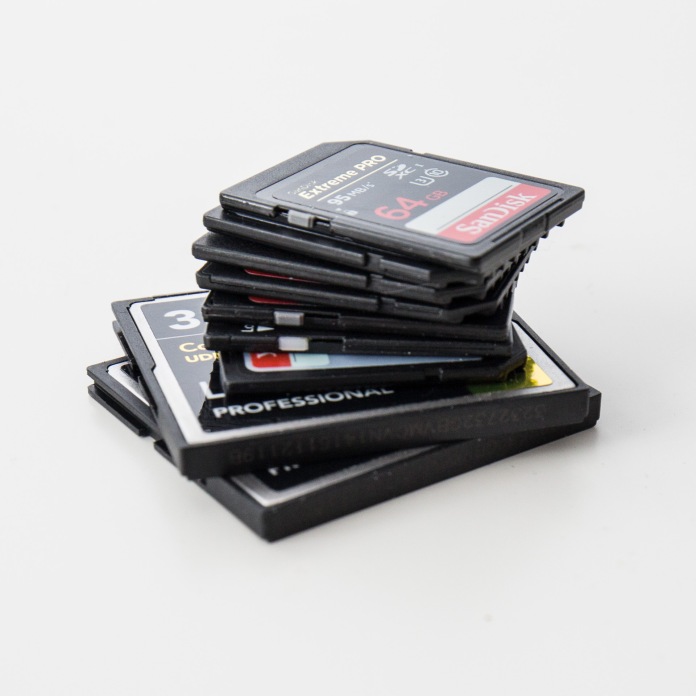
Many of the cards I own are not pictured, stuffed away in various cameras, bags, pouches, wallets, nooks, cranneys, and at least two forever trapped in a car’s backseat seat-belt hole. I like to have more SD cards than I need. I have my primary 64gb cards with my pouch, my “system”, but I also picked up a bunch of cheap 8gb cards and I keep one of those in every camera bag, and … just sort of all around where I am likely to find one quickly. Just in case. I recommend you have a system – like my SD card pouch, and I don’t recommend “saturate yourself with SD cards”, but it does work for me as a backup.
As a rule of thumb, you want to buy the fastest SD cards you can afford. Size is secondary. Look for the cards rated read/write speeds, and get the best ones. This will allow your camera to perform better, and there will be less of a wait after taking a photo, before you take the next one. It also makes transfers and backups easier.
Using more, faster, smaller SD cards also is like putting your eggs in many baskets. If something goes wrong – like you drop your camera in a river – there are still some SD cards with some data on them. Hopefully.
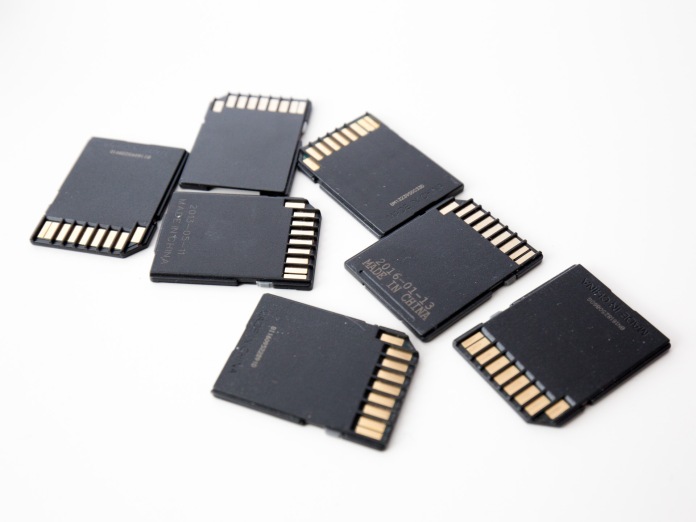
You want to keep these shiny contacts clean!
Lens Filters
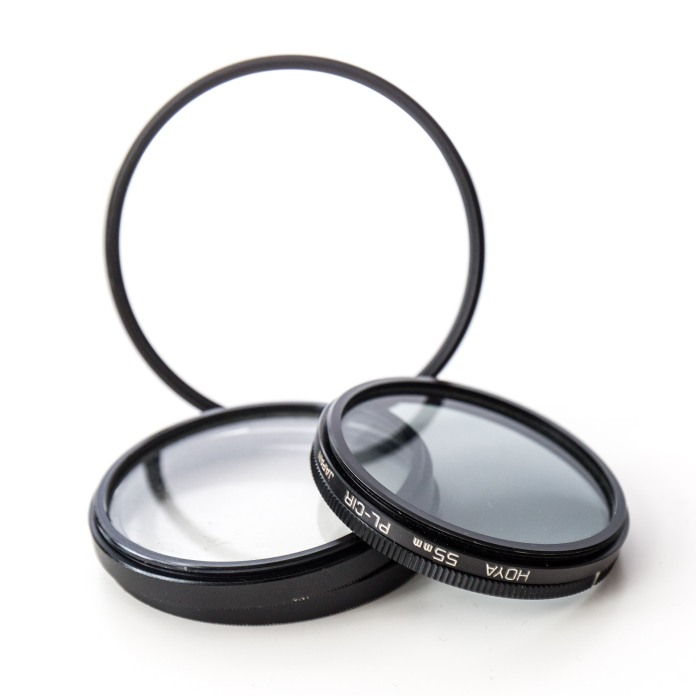
Lens filters are bits of glass, plastic, acrylic, or anything somewhat transparent. The most common are Haze, UV, and sunlight filters, which are all designed to be able to be left on the camera and forgotten about.
Other filters are designed to only be used in certain scenarios, like Polarizing, Neutral Density, Graduated neutral-density, color, and more.
UV filters block out ultraviolet (UV) light, which can affect an image negatively despite being outside of the visible spectrum of light. We will deal with what filters are used for and when to use them later.
For now, all you need to know is that UV, Haze, or Sunlight filters act as a lens cap that you don’t have to take off. I recommend you keep a UV filter on your lens as a form of protection. A transparent lens cap! Brilliant! It’s cheaper and easier to replace these filters than a broken lens. If they get too dirty, you just take them off, clean them, and put them back on.
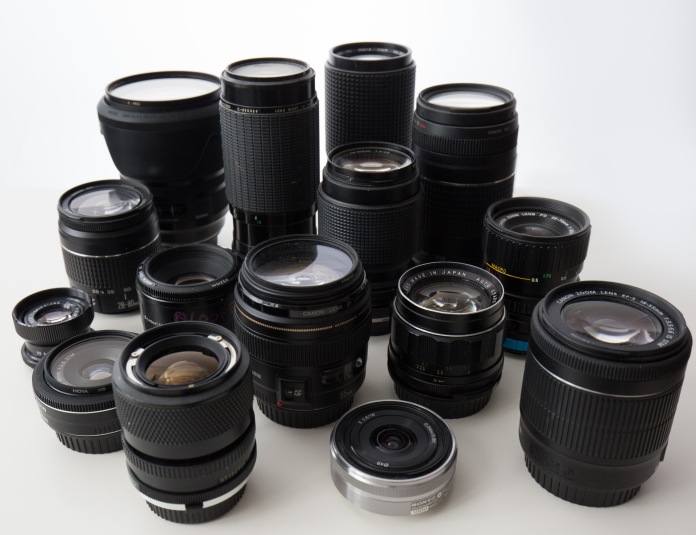
If you look at my photo of lenses above, you can tell which lenses I actually use because they have lens filters on them.
